I.Why Mortar Adhesive Strength Matters
Mortar adhesive, often referred to as tile adhesive or thin-set mortar, is responsible for creating a strong bond between substrates and finishing materials.
Its performance affects:
Tile adhesion on walls and floors
Wind resistance of EIFS (External Insulation Finishing Systems)
Durability in high-moisture or freeze-thaw environments
Shear and tensile strength under stress or vibration
A weak mortar bonding strength can lead to:
Hollow-sounding tiles
Detached stones or panels
Structural instability over time
Water infiltration and mold growth
That’s why builders today are moving away from traditional cement-sand mortars and switching to polymer-modified mortar adhesives with functional chemical additives.
II.Common Causes of Weak Mortar Adhesion
To improve bonding, we must first avoid these key problems:
1. Inadequate Surface Preparation
Dust, oil, or moisture barriers on substrates can prevent adhesion.
Smooth or painted surfaces don’t allow for mechanical grip.
Dry, absorbent surfaces may suck water from the mortar too quickly, leading to improper curing.
2. Incorrect Water Content
Over-watering the mortar reduces cohesion and mechanical strength.
Under-watering prevents full hydration of cement.
3. Poor Quality Materials
Low-grade cement or sand affects consistency.
Lack of functional additives limits bonding performance.
4. Unsuitable Mixing and Application
Skipping mixing time or letting mortar rest too long before use reduces adhesive properties.
Applying mortar after its open time can cause failure.
III.Top Methods to Improve Mortar Adhesive Strength
1. Use Polymer-Modified Mortars

Benefits of Polymer Modification:
Enhances flexibility to absorb substrate movement
Increases wet and dry adhesion to various surfaces
Provides anti-sagging properties on vertical applications
Improves freeze-thaw resistance for outdoor use
Reduces water absorption and increases lifespan
Polymer-modified mortar is essential for:
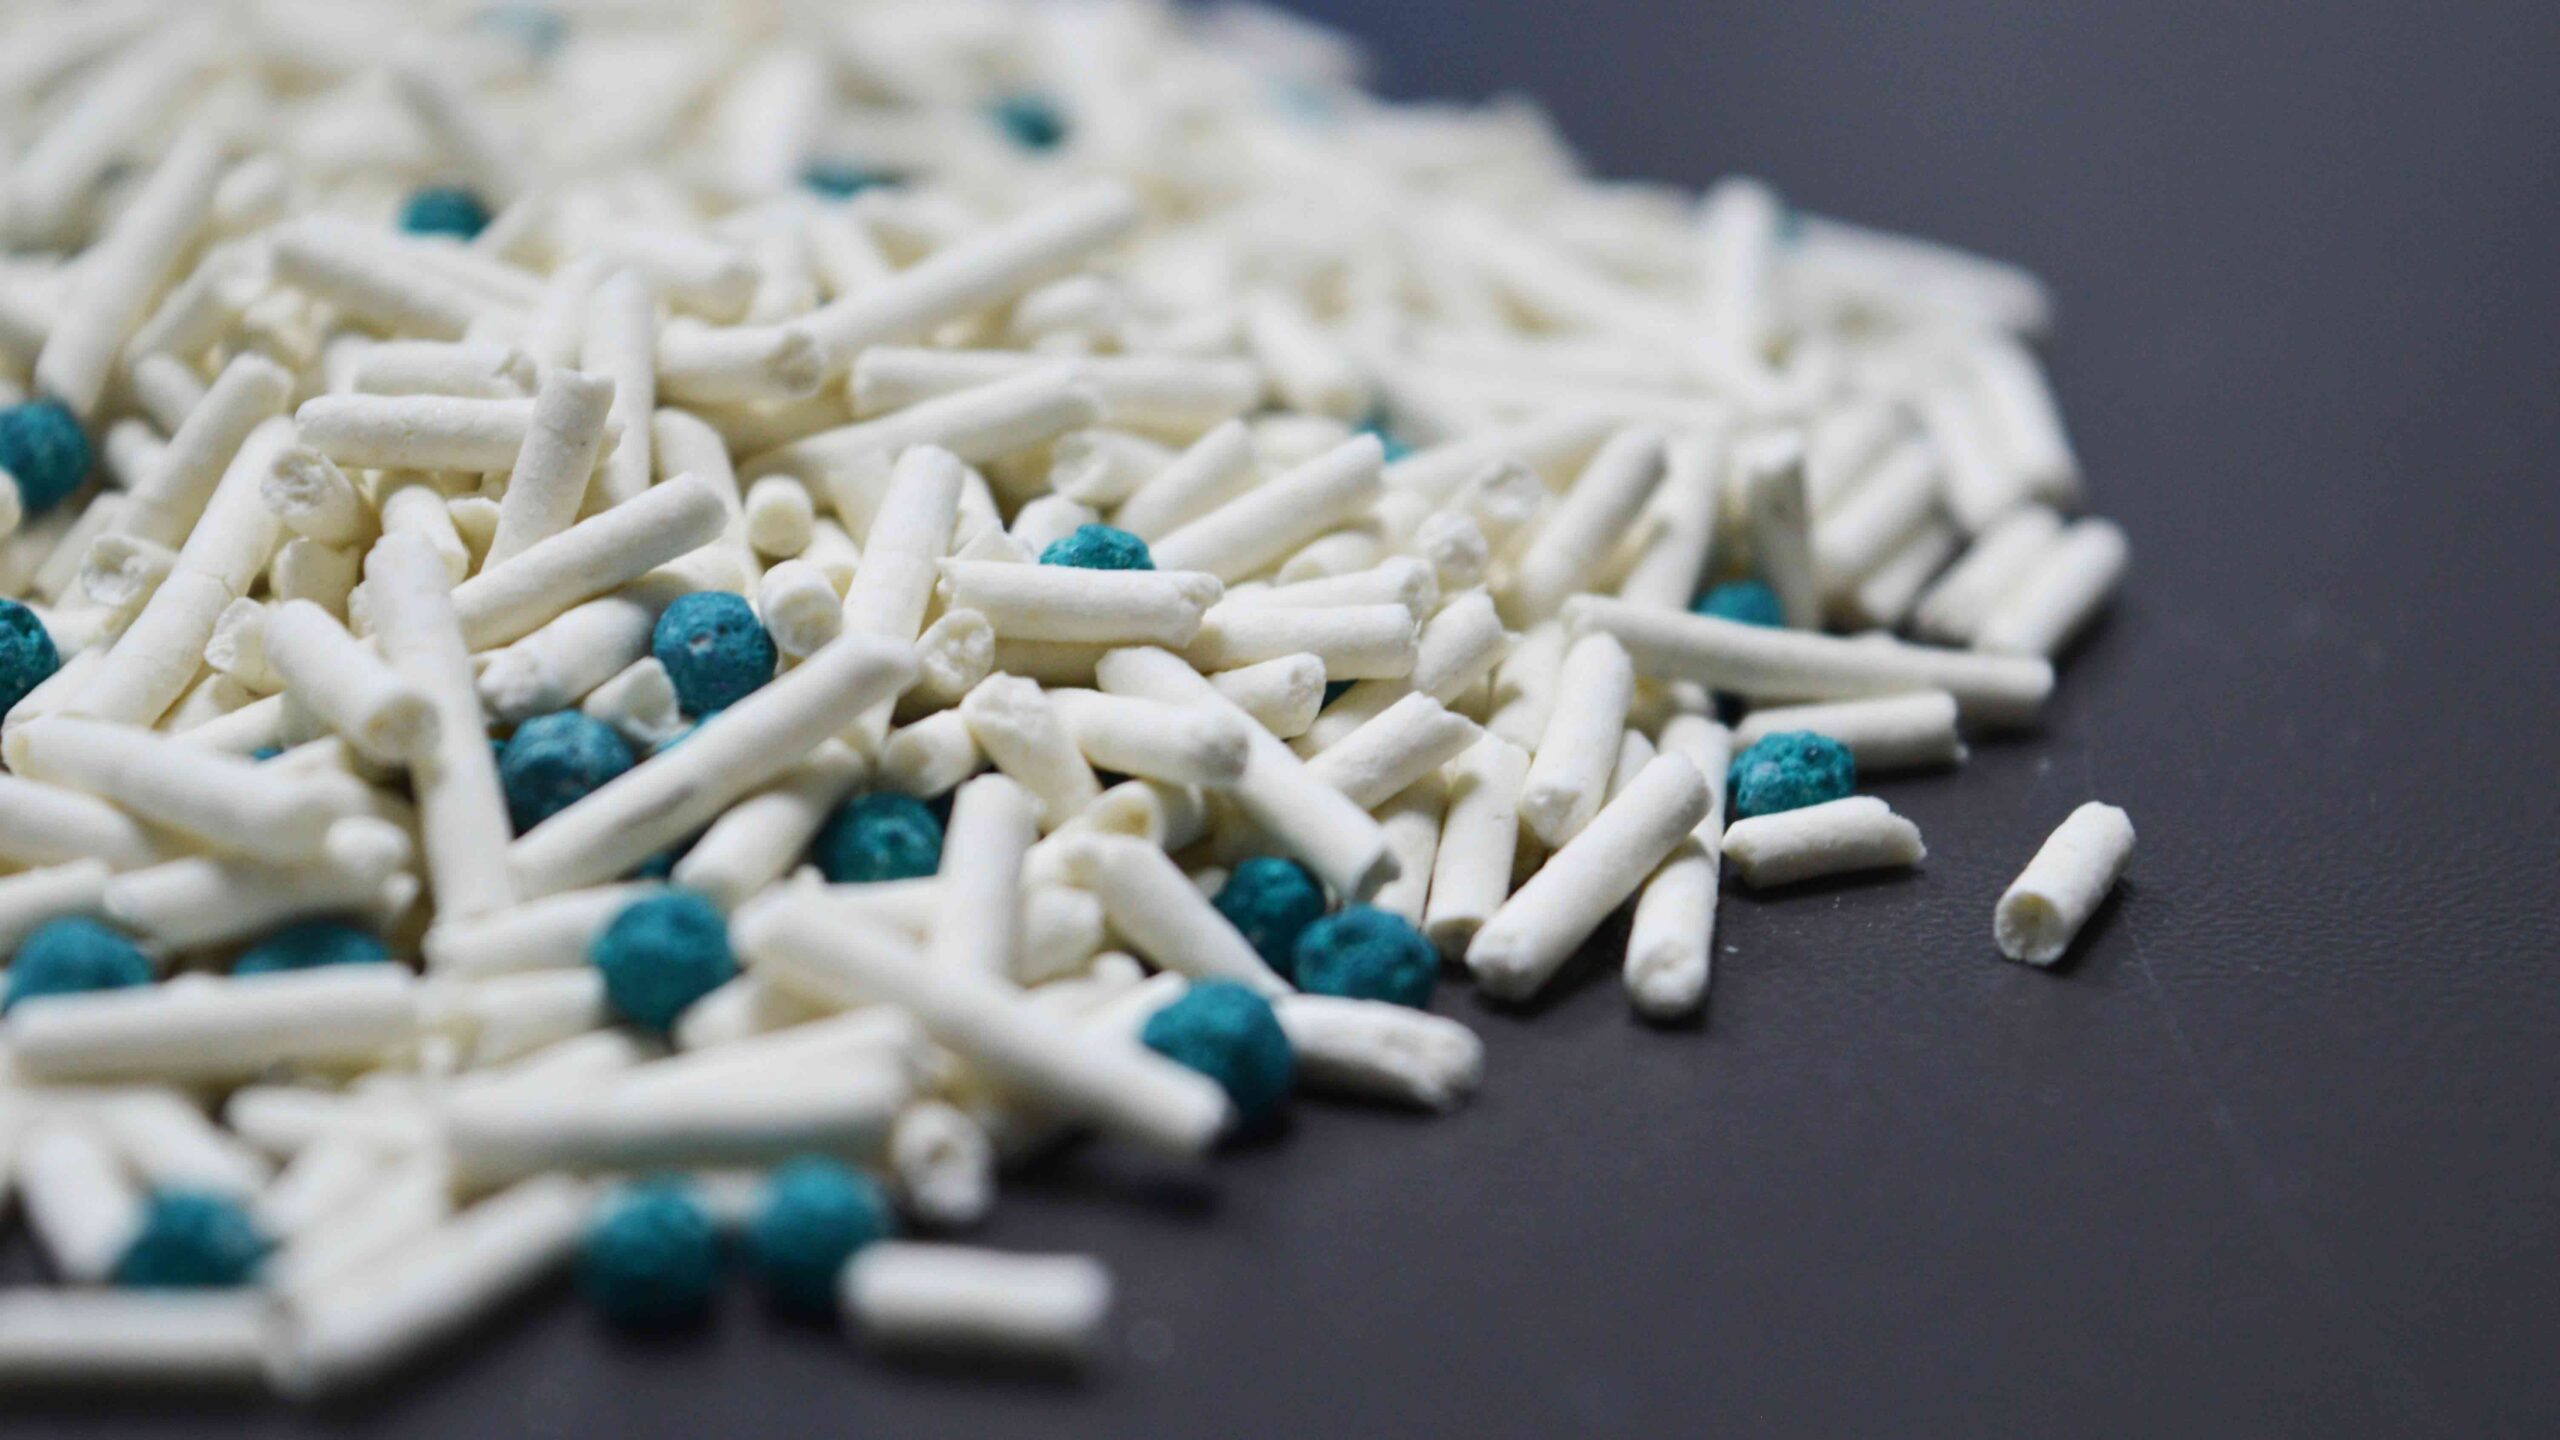
2. Add Cellulose Ethers (HPMC/HEMC)

Key Functions:
Water retention: Keeps water in the system for proper hydration, especially on hot or absorbent substrates
Improved workability: Makes the mortar easier to spread, increasing surface coverage
Open time extension: Allows installers more time to adjust tiles
Anti-sag effect: Prevents tile slippage in vertical applications
Cohesion improvement: Reduces segregation and bleeding
Choose a viscosity grade based on your application: 40,000–100,000 cps for tile adhesives; up to 200,000 cps for skim coat or EIFS.
3. Apply Bonding Agents for Difficult Surfaces
Not all substrates are created equal. For non-absorbent, old, or smooth surfaces (like glazed tiles, polished concrete, or painted walls), bonding agents are essential.
Types of Bonding Agents:
SBR Latex: Increases bonding, toughness, and water resistance
Acrylic Emulsions: Excellent for bonding on old concrete or cement board
Epoxy-based agents: For heavy-duty industrial applications
Application Methods:
As a primer layer before mortar
Mixed directly into mortar for added bonding power
Bonding agents are especially important in renovation projects or when tiling over tiles.
4. Proper Surface Preparation Techniques
Even the best adhesive mortar won’t bond if applied to a dirty or improperly prepared surface.
Best Practices:
Clean off dust, oil, and debris
Dampen highly absorbent surfaces (e.g., old bricks) before applying mortar
Remove loose particles or previous coatings
Use primer or bonding slurry on difficult substrates
IV.Recommended Mortar Additives and Their Roles
| Additive | Function | Typical Dosage | Used In |
| RDP Powder | Flexibility, bonding, crack resistance | 2–5% | Tile adhesive, EIFS, plaster |
| HPMC/HEMC | Water retention, open time, workability | 0.2–0.5% | All dry-mix mortars |
| SBR Latex | Surface bonding, flexibility | 5–10% (as liquid) | Bond coats, repair mortars |
| Powder Defoamer | Prevents air bubbles | 0.1–0.3% | Flooring screeds, thin mortars |
| Anti-slipping agents | Reduce sagging | Variable | Vertical tile adhesive |

V.Pro Tips for Maximum Adhesive Performance
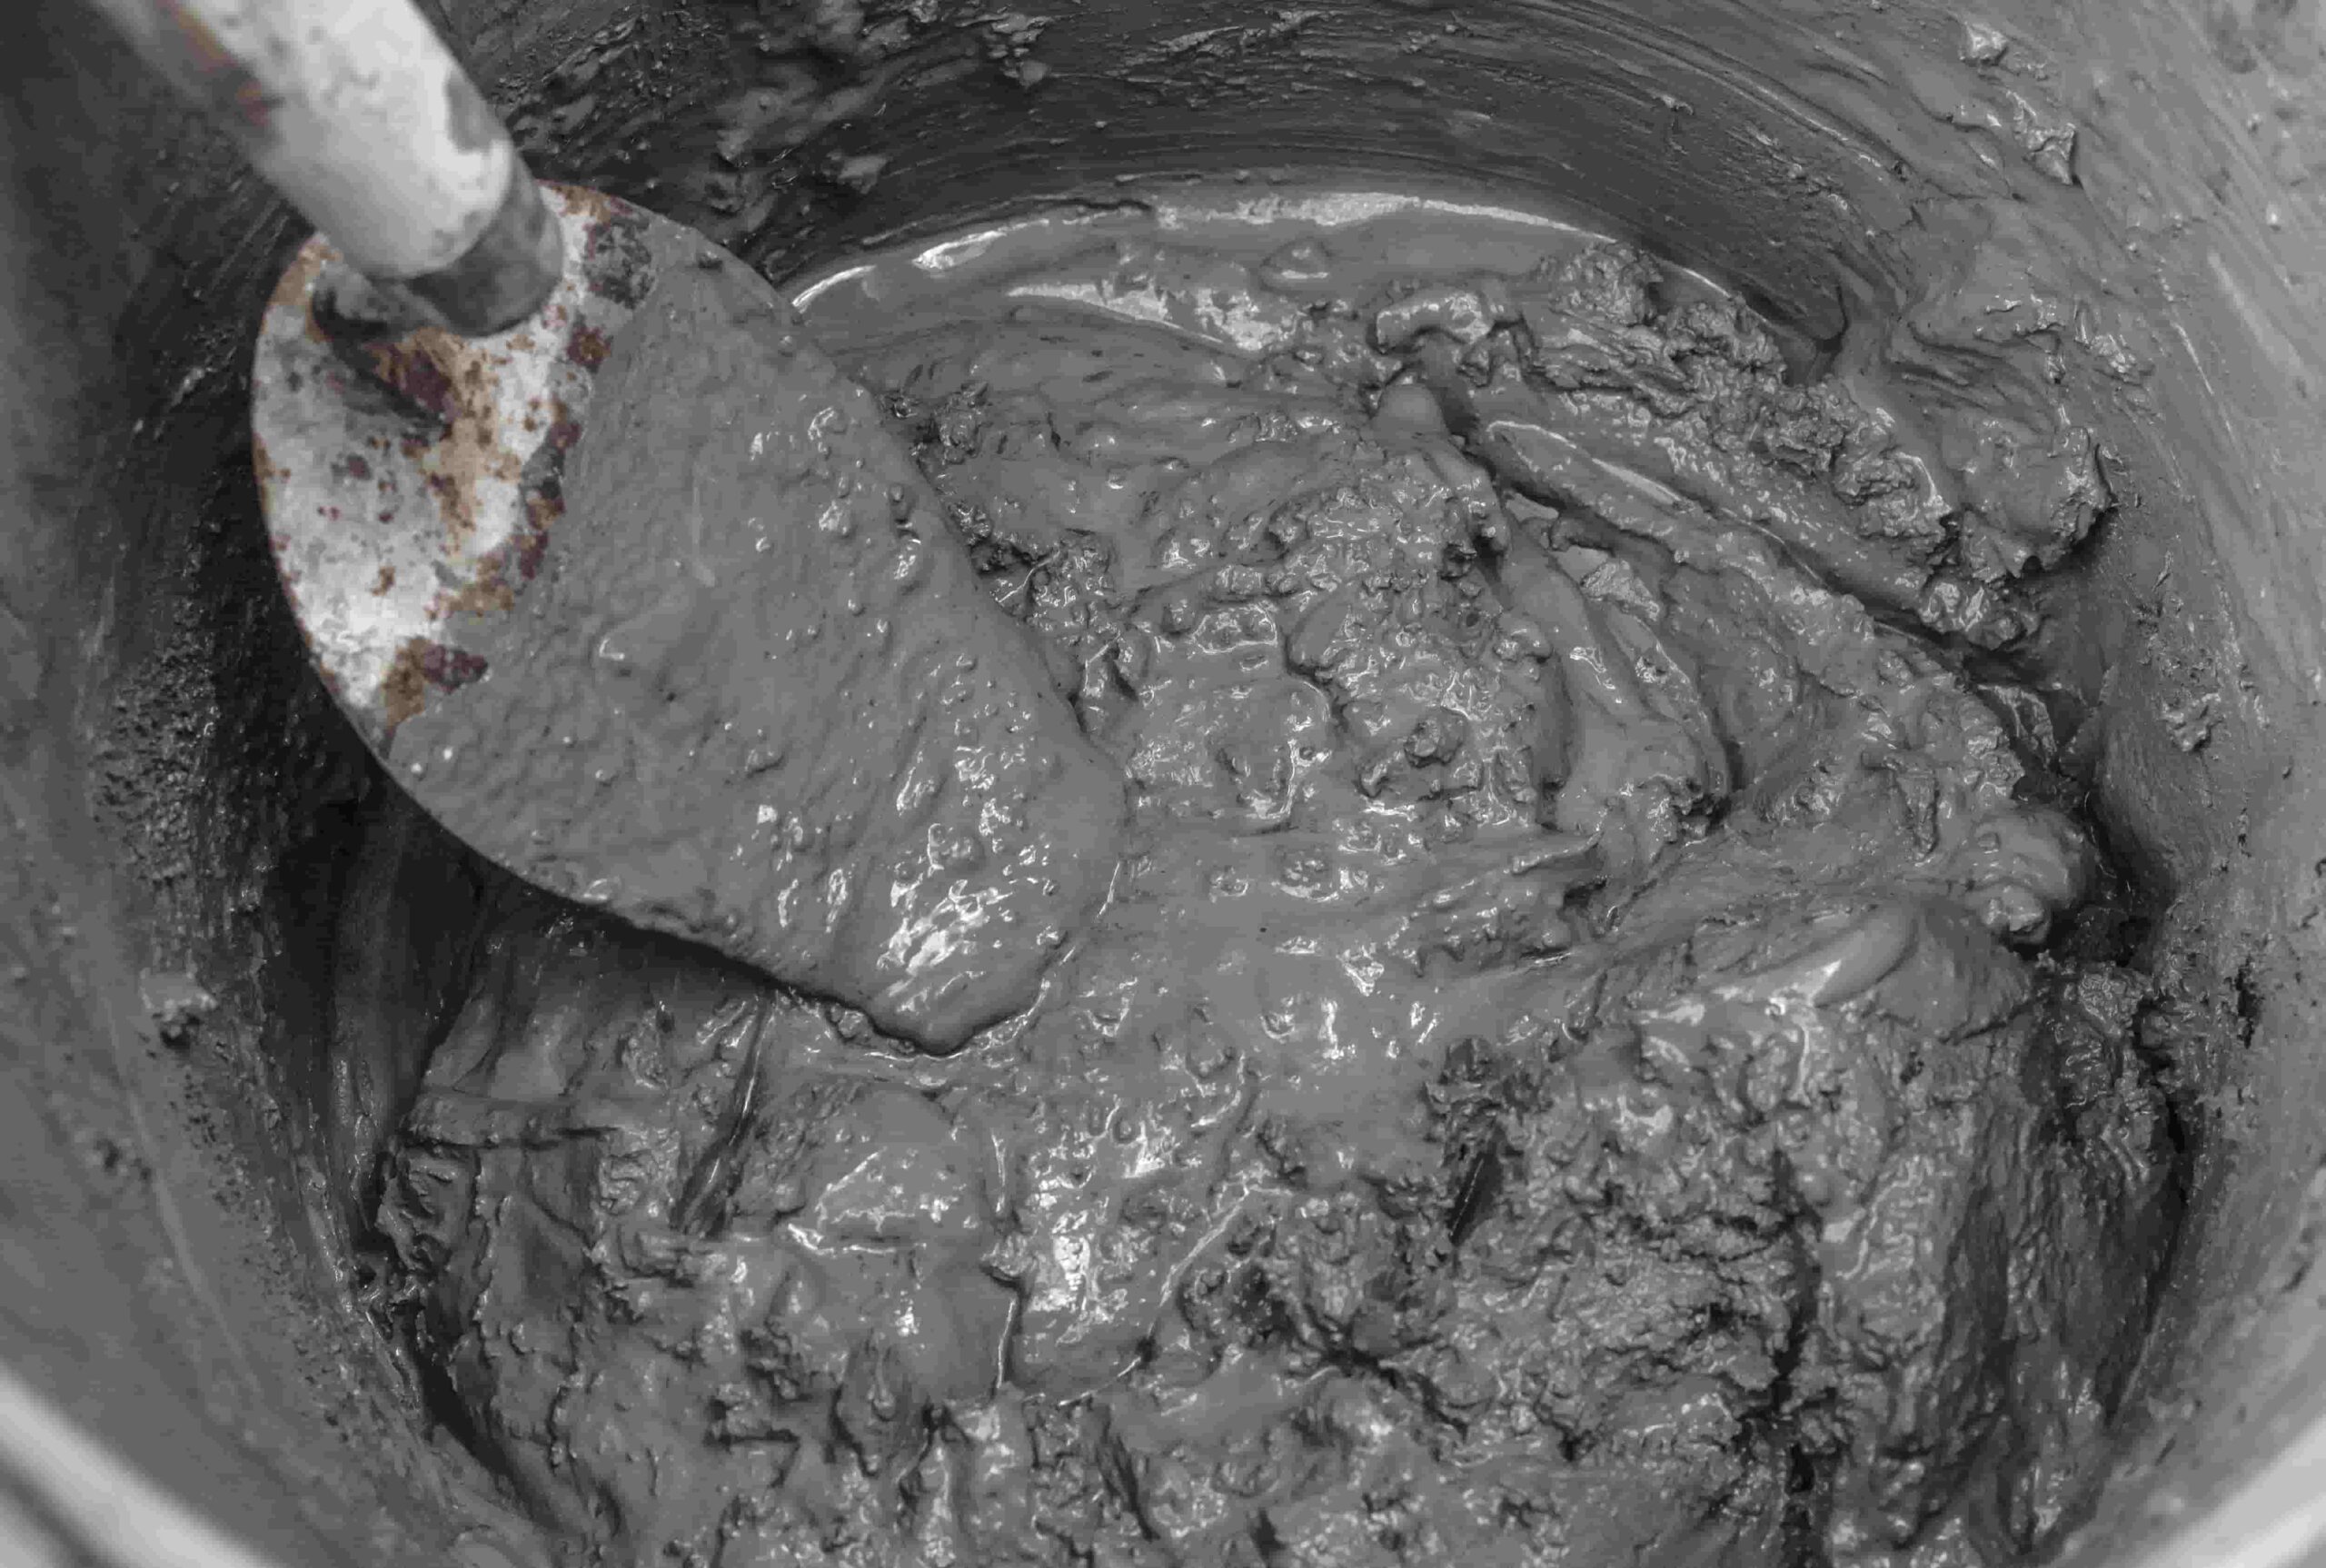
Mix dry mortar thoroughly before adding water
Use a low-speed mixer for consistent blending
Let the mix rest for 5–10 minutes, then re-stir (maturation time)
Apply mortar within its open time (usually 20–30 minutes)
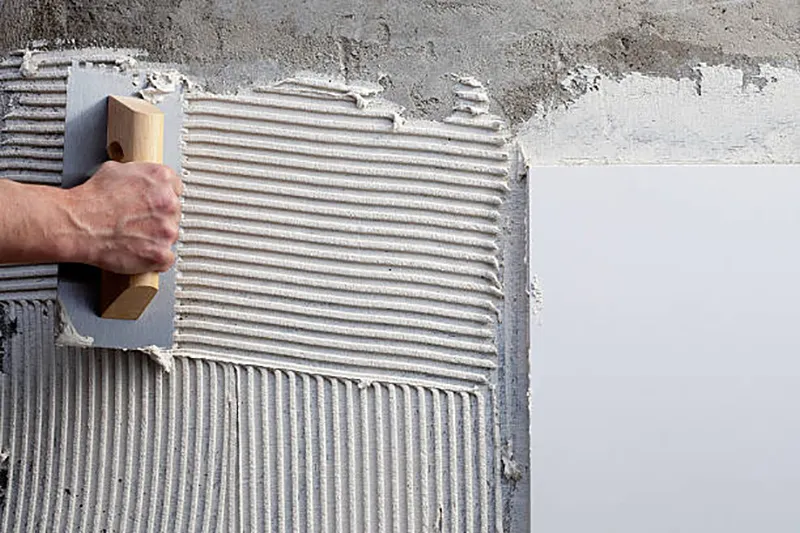
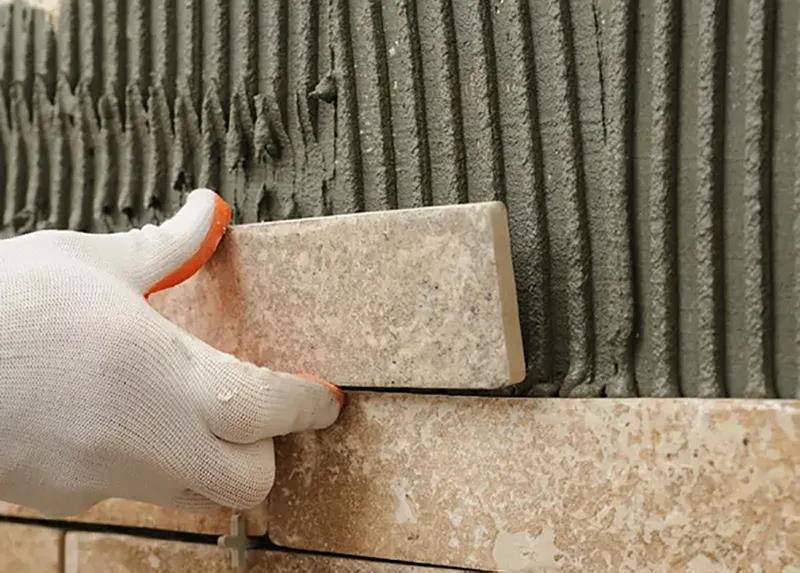
Use notched trowels for better tile contact area
Press and slightly twist tiles into position for better bond
Avoid applying mortar under extreme heat, strong wind, or direct sunlight without precautions.


-scaled.jpg)